I mean it kind of looks like “Love Wine” but is definitely meant to say Love Wins… I didn’t do a tutorial for this… Because it was waaaay too hard to film.
So you can just browse the pictures 😁


I mean it kind of looks like “Love Wine” but is definitely meant to say Love Wins… I didn’t do a tutorial for this… Because it was waaaay too hard to film.
So you can just browse the pictures 😁
Yay for America! Finally catching up with the whole Marriage Laws thing 😁 ❤️💛💚💙💜
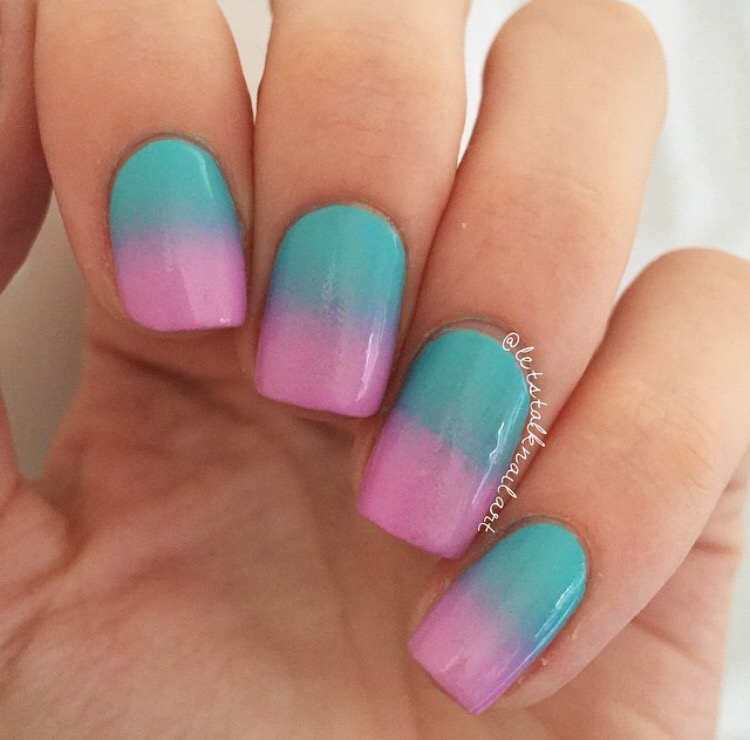
To celebrate I did a rainbow Ombre and I can’t believe how well it turned out!
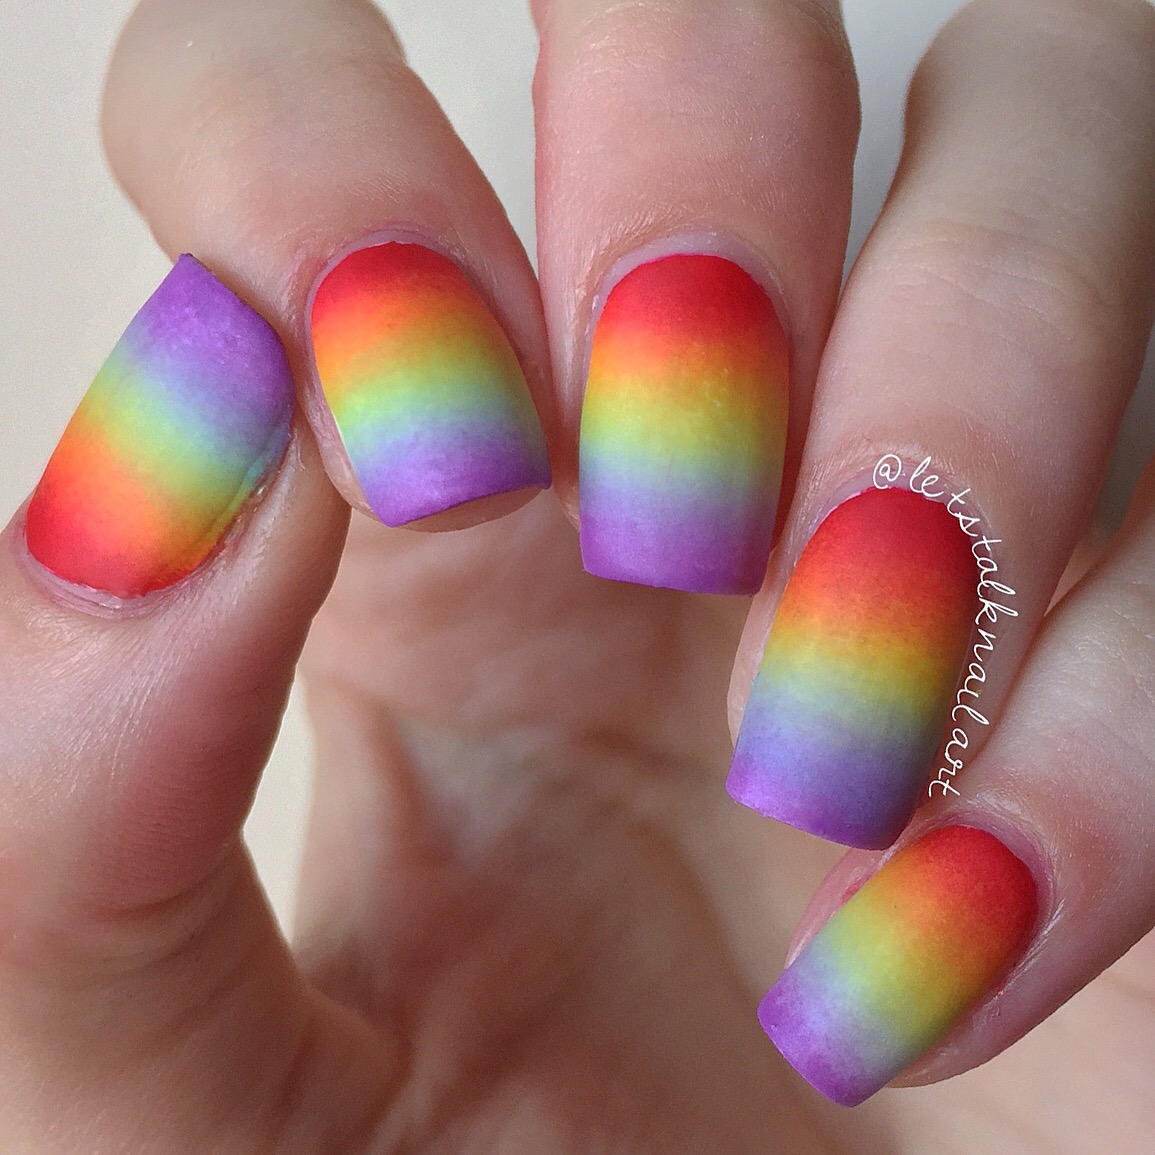
Anyways here’s the tutorial for my rainbow gradient/Ombre mani.
(Awkward moment when you realise that you’ve put the camera too close to your nails so everything is out of focus. UGH.)
You need:
• Latex make-up sponge
• Cellotape/Scotch Tape – if you have fibres that are on your sponge use this to get them off
• Liquid Latex Barrier – I used Zap! That I bought from Rainbow Connection
• Tweezers
• Clean up tools – brush and acetone
• White nail polish – I used Barry M “white”
• Clear nail polish – I used Barry M “Matte” Top Coat
• 4 coloured nail polishes – I used Barry M “Blood Orange” (Red), “Sky Blue” (Blue) and “Need for Speed” (Purple) and a Yellow with literally all details rubbed off haha.
Method:
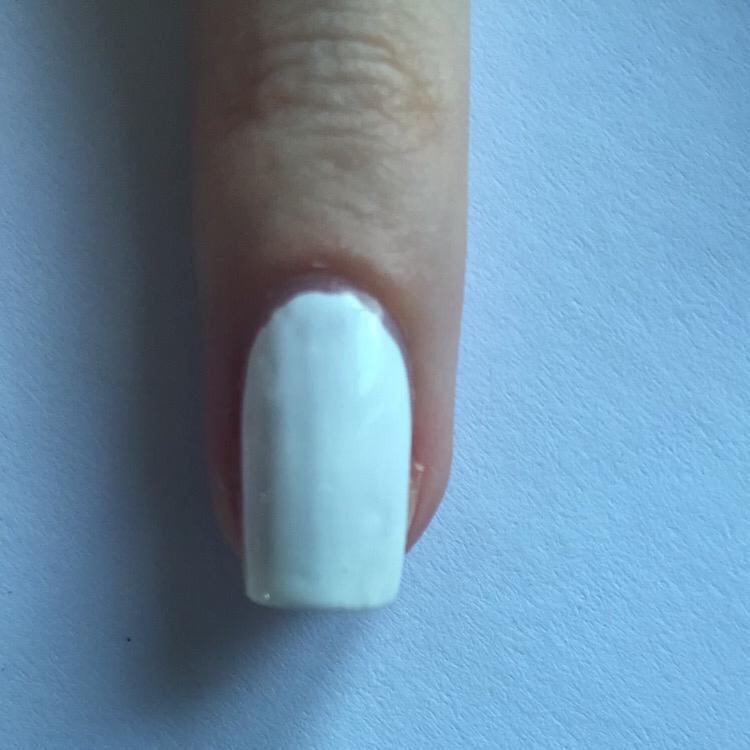
1⃣ Paint your nails with one coat of white polish
2⃣ Let that dry and then paint on a thin clear layer of your top coat, this smooths everything out so you get a nice clean ombre
3⃣ Let the topcoat dry and paint on your liquid latex barrier around your cuticles, I tend to paint a little bit onto my nail so that it’s easier to get off (as you’ll see)…

4⃣ Grab your sponge and paint your polishes onto the sponge, one line per polish, slightly overlapping each time. Make sure you don’t paint too much polish onto the sponge – this creates bubbles.

5⃣ Roll the sponge (polish side down) onto your nail once and repeat for each nail – don’t worry if hardly any polish transfers. It’s your first one.

6⃣ Let this dry before you repeat again otherwise the sponge will take off all layers of existing polish.

7⃣ Repeat until you have the desired level of coverage – make sure you don’t roll in the exact same positions. Move your sponge slightly up then roll, then slightly down then roll so that you get the colours to really blend.

8⃣ Then let all of this dry and then pull off your liquid latex and get rid of any excess by using your clean up tools

9⃣ If you get a bit over zealous with cleanup it’s all good! No need to panic, you’ll be able to touch up with a bit of whatever polish you just wiped off.
🔟 Paint on your topcoat and then you’re done!


👉🏻 If you have any questions 👈🏻
👇🏻 Ask me in the comments 👇🏻

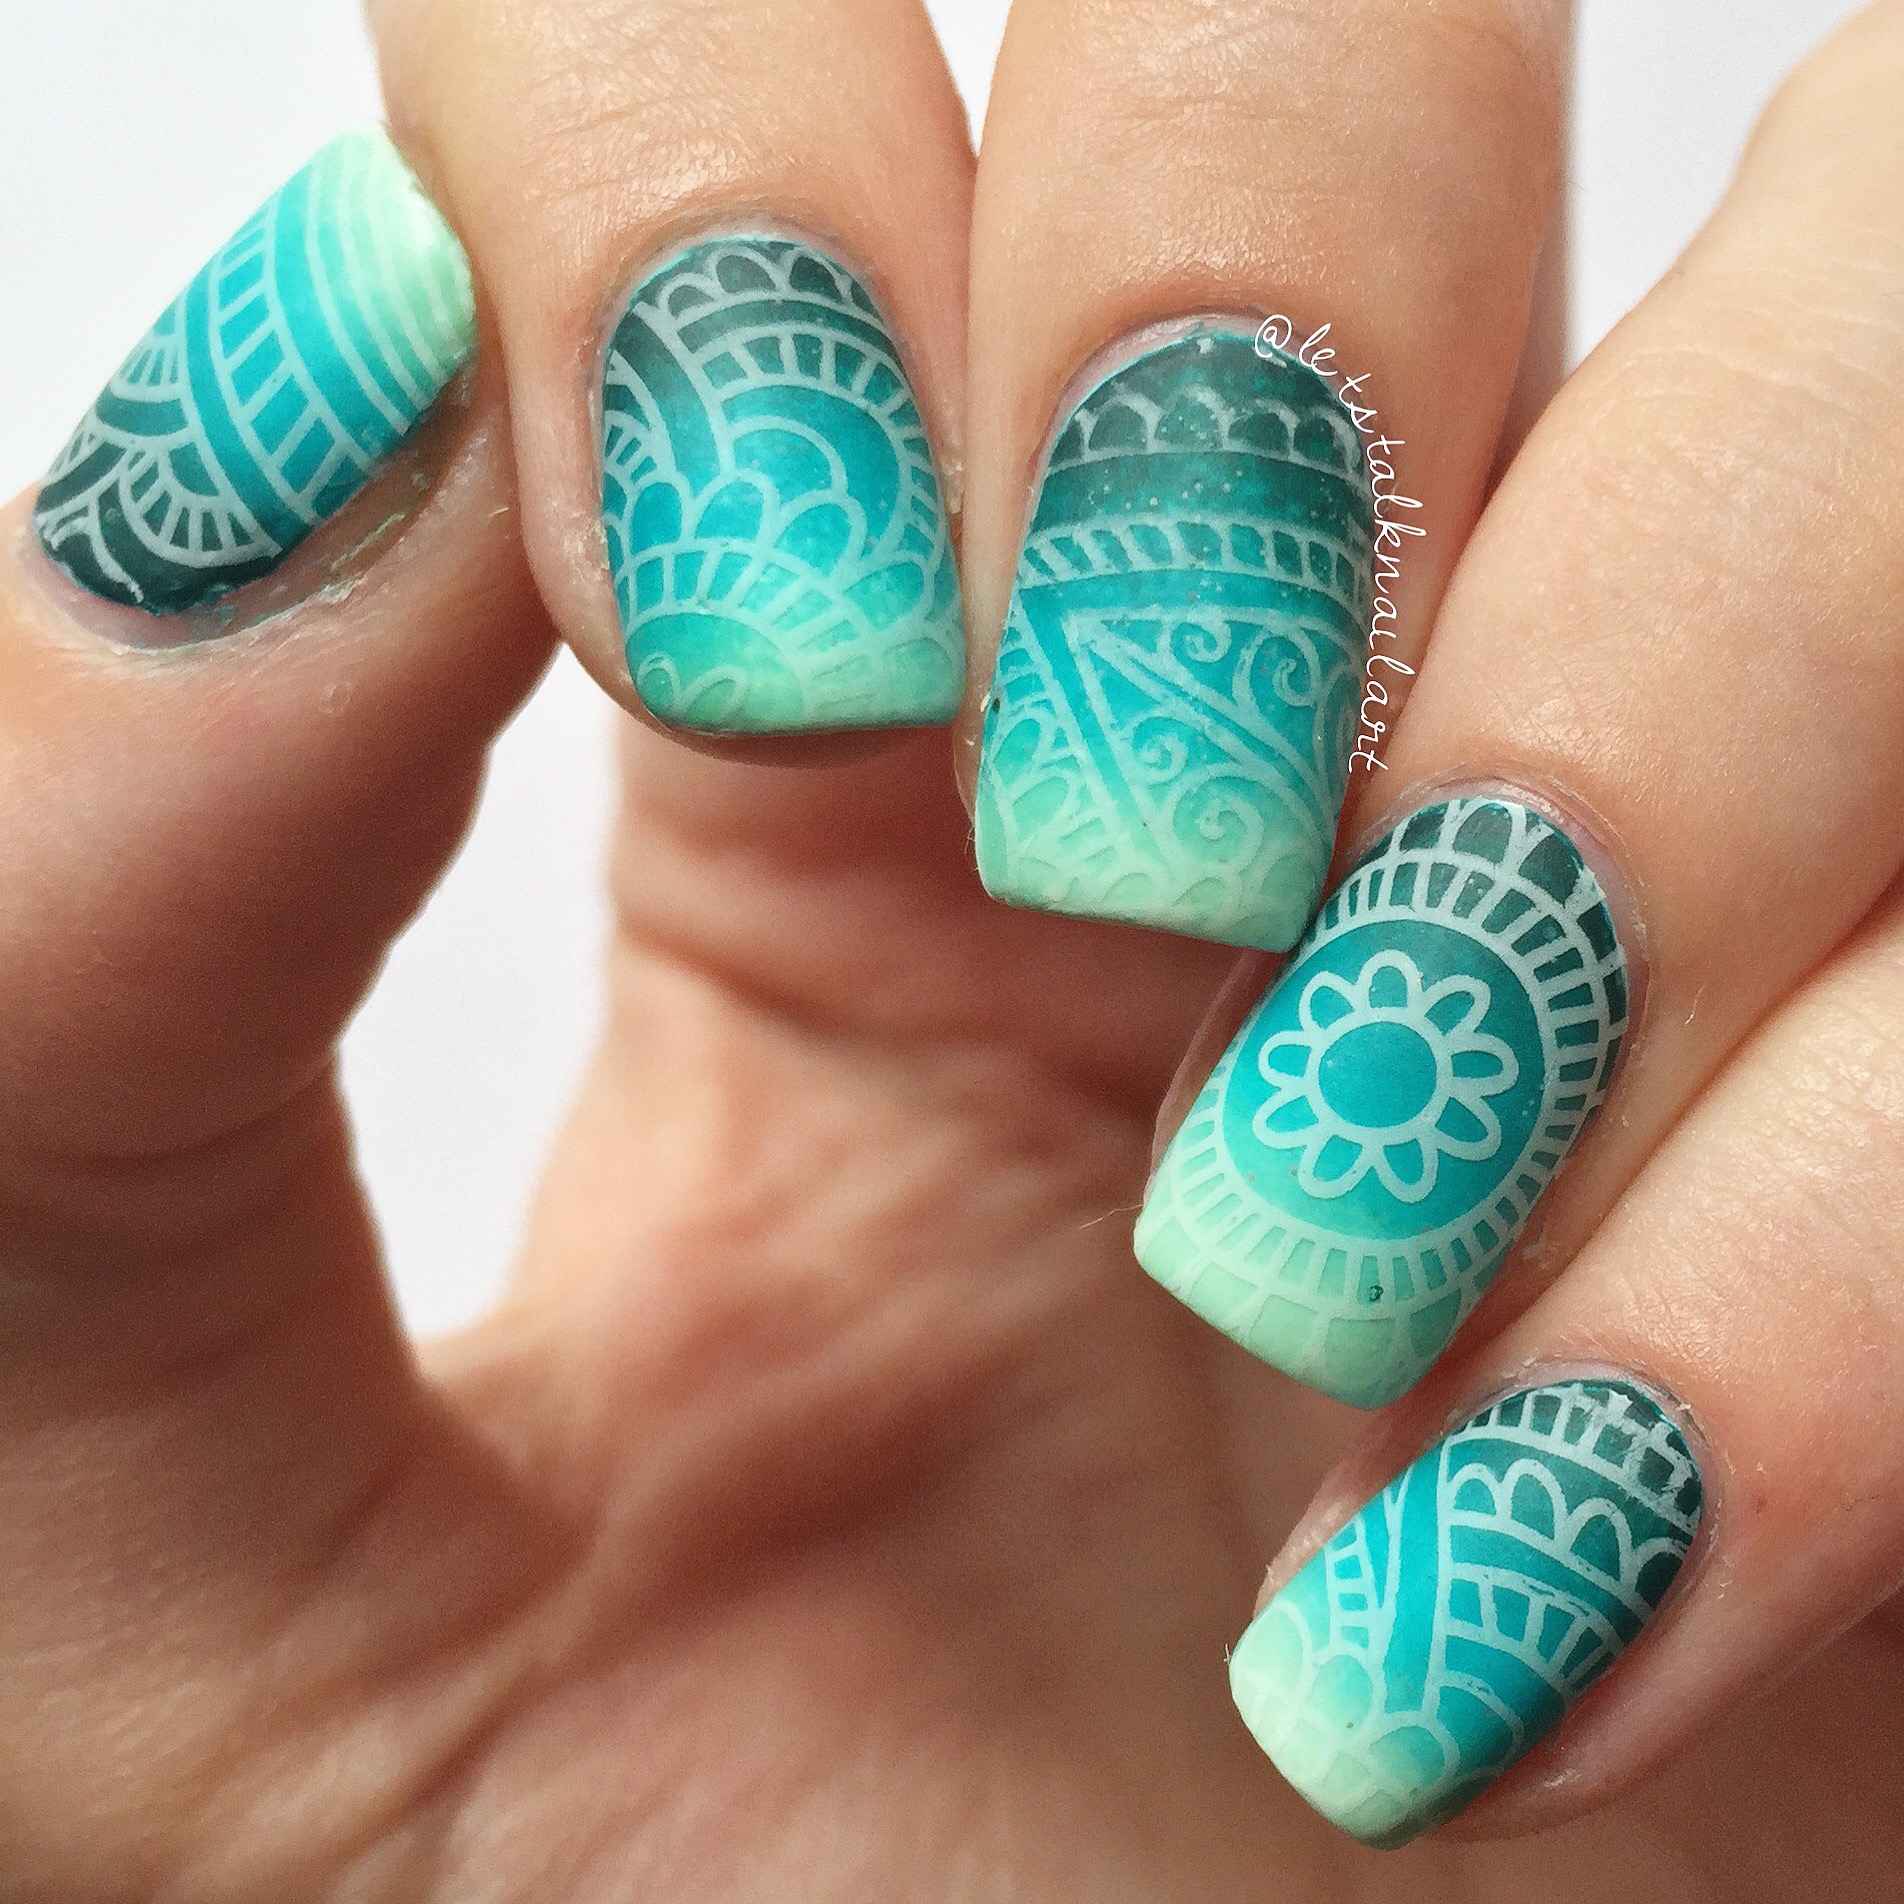
You may have spotted a theme with my recent mani’s. Ombre. Yes I know. They’re beautiful.
I’m trying to put all my ombre ideas together and I can’t wait for my nails to grow longer so I can do MEGA ombre’s. I think my nails are just long enough for a three ombre and pretty soon a four.
I might try a four tomorrow. What do you think? I just LOVE ombre’s.
I used Barry M “Watermelon”, “Guava” and “Mint Green” for the ombre
The stamping image was from @bornprettystorenailart “BP-48”
😁
So I’ve been trying to perfect my ombre and I think I’ve finally done it. So I’m going to share that with you. 
Let’s start off with what I consider to be fails (and why I think they are fails)
This one – the colours work beautifully together, and despite me lying on my nails making hair indents (index finger) it looked relatively ok.

As you can see on the middle finger there are little bubbles, this is a result of over loading the sponge with polish.
As you can see on the ring finger the colours have not blended. This is a result of not moving the sponge up and down to further blend.
Now this one is a fail (mainly because one line is diagonal) but also because it was not blended enough, as I only used two colours I should have moved the sponge up and down more.
This one was a success for all nails except the index – because this is the one where I used a non latex sponge. Can you see how you can see all of the indents of a sponge?
Also on the middle finger you can see the ridges of my nails. When I apply a topcoat onto the white polish you will be able to see the difference. 
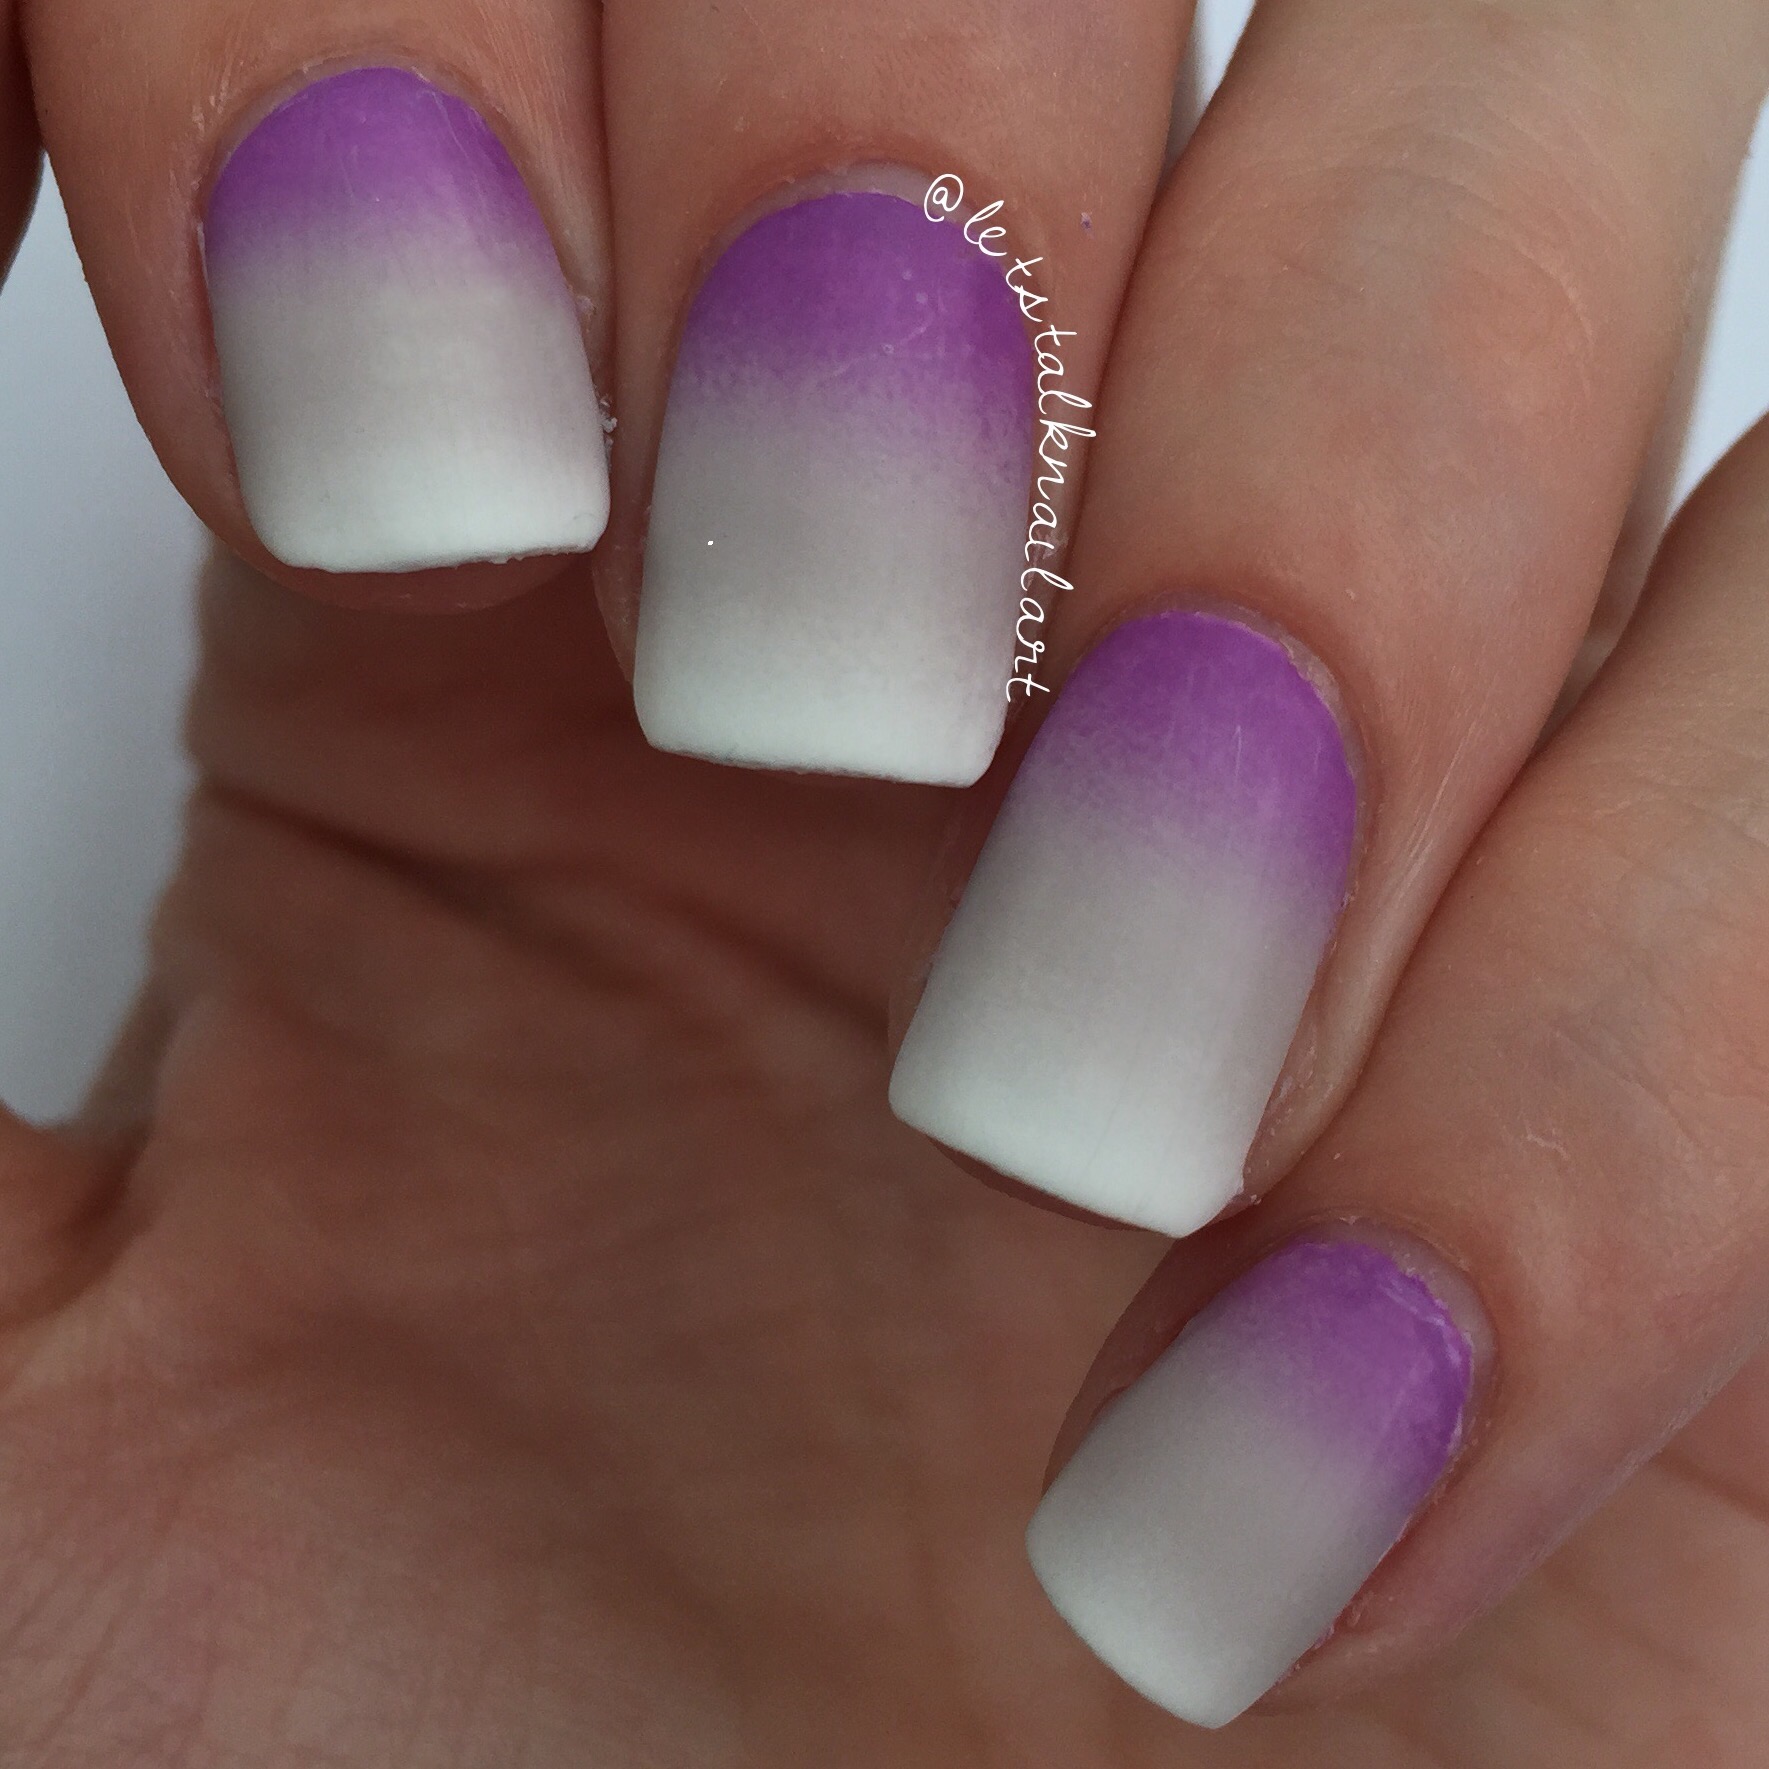
SO this one is my success story:
And here is how you do it (get prepared. It gets pretty intense)
Okay so what you need:
🔹 Latex make-up sponge – I don’t know why, but latex free sponges suck at ombre. So make sure you get ones that contain latex (unless you’re allergic… Then I’m guessing you’ll have to make do with latex free)
🔹 Cellotape/Scotch Tape – if you have fibres that are on your sponge use this to get them off
🔹 Liquid Latex Barrier – I used Zap! That I bought from @rainbowconnection
🔹 Tweezers
🔹 Clean up tools – brush and acetone
🔹 White nail polish – I used @barrymcosmetics “white”
🔹 Clear nail polish – I used @revlon “Extra Life” No Chop Top Coat
🔹 2+ coloured nail polishes – I used 3, @barrymcosmetics “Need for Speed”, “Pit Stop” and “White”
Method:
1⃣ Paint your nails with one coat of white polish
2⃣ Let that dry and then paint on a thin clear layer of your top coat, this smooths everything out so you get a nice clean ombre

3⃣ Let the topcoat dry and paint on your liquid latex barrier around your cuticles, I tend to paint a little bit onto my nail so that it’s easier to get off (as you’ll see)…

4⃣ Grab your sponge and paint your polishes onto the sponge, one line per polish, slightly overlapping each time. Make sure you don’t paint too much polish onto the sponge – this creates bubbles.

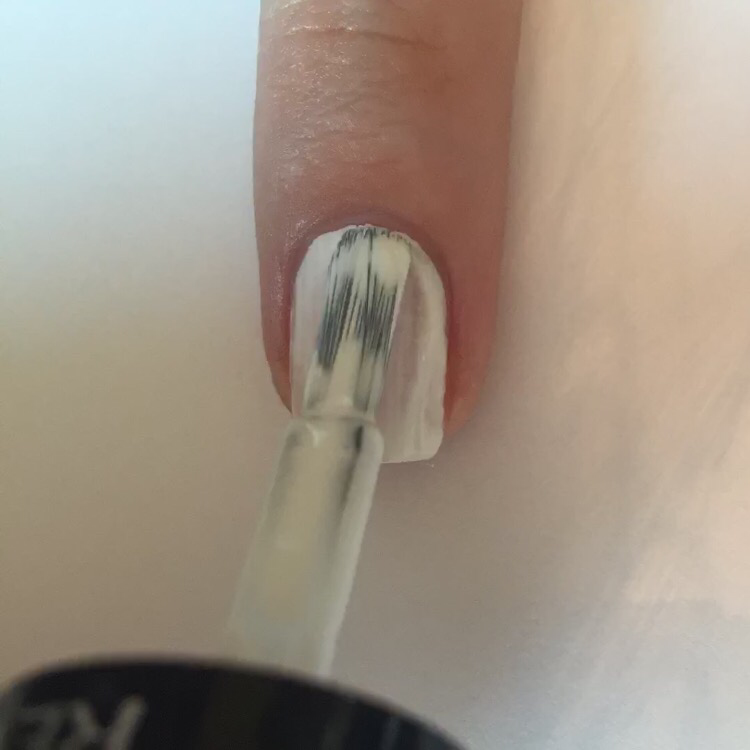
5⃣ Roll the sponge (polish side down) onto your nail once and repeat for each nail – don’t worry if hardly any polish transfers. It’s your first one. As you’ll see hardly any transferred for my first one.

6⃣ Let this dry before you repeat again otherwise the sponge will take off all layers of existing polish. (Like this – I know it’s different colours and a different mani) 
7⃣ Repeat until you have the desired level of coverage – make sure you don’t roll in the exact same positions. Move your sponge slightly up then roll, then slightly down then roll so that you get the colours to really blend.

8⃣ Then let all of this dry and then pull off your liquid latex and get rid of any excess by using your clean up tools

9⃣ If you get a bit over zealous with cleanup it’s all good! No need to panic, you’ll be able to touch up with a bit of whatever polish you just wiped off.

🔟 Paint on your topcoat and then you’re done!

Here’s the video tutorial incase you wanted to watch that.
👉🏻 If you have any questions 👈🏻
👇🏻 Ask me in the comments 👇🏻
